Generate NetCrunch SSL certificate with Microsoft Certificate Authority server
Learn how to use certificates generated by Microsoft Certificate Authority to secure Web Access connection to the NetCrunch server.
Preparing certificate files
In order to set a secure Web Access connection to NetCrunch, you need to set a path to three files:
- Server Certificate
- issued for a machine where NetCrunch was installed
- Root certificate
- which was used for signing the server certificate
- Private key
- which matches the server certificate
Therefore, when using certificate exported from the Certificate Store, first and foremost you have to be sure, that all these components can be extracted from the .pfx file.
This is the main reason why the mark this key as exportable checkbox has to be checked when importing a server certificate to the Certificate Store:
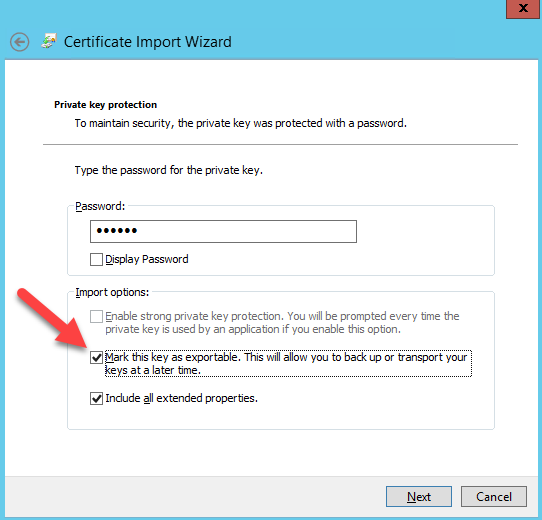
Exporting certificate components
Now, having properly imported the certificate into the Certificate Store, you can export the .pfx file containing elements required for setting up a secure Web Access connection.
- Run Computer Certificates Manager, select certificate, right-click on it and from the context menu chose 'export':

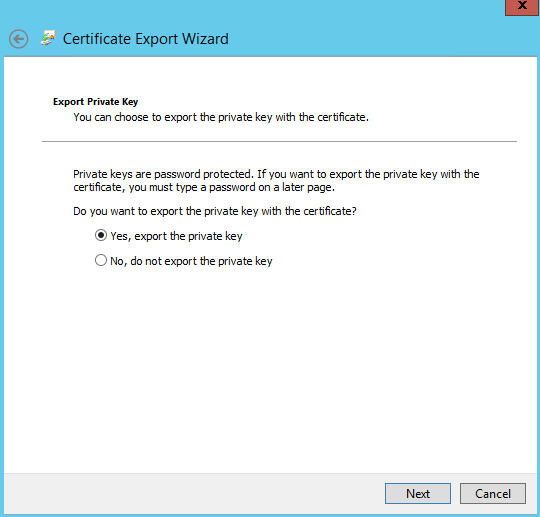
- Mark checkbox 'Yes, export the private key':
- Mark also the option Include all certificates in the certification path if possible:
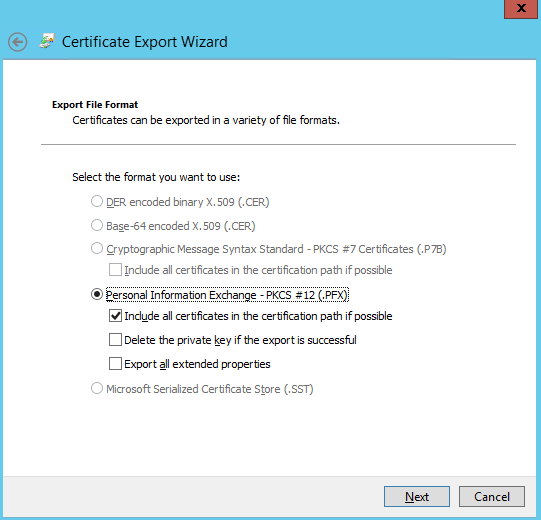 Once YourExportedServerCert.pfx (or whatever it may be named) file is exported, you can finally extract all three components into different files and set a path to them.
Extracting certificate components
Run OpenSSL (there are binary distributions for selected operating systems, simple browser search should return plenty of them, ready for use) and type these three commands (remember: if the .pfx file was exported with password protection, OpenSSL will ask for it):
OpenSSL> pkcs12 -in YourExportedServerCert.pfx -clcerts -nokeys -out server.crt
OpenSSL> pkcs12 -in YourExportedServerCert.pfx -cacerts -nokeys -out root.crt
OpenSSL> pkcs12 -in YourExportedServerCert.pfx -nocerts -out private.key
In this case, private.key will be encrypted and thus you need to set up a password for it. This will be the next step (notice 'Private key password' field on the next screen).
Enabling certificate in NetCrunch WebAccess console
Once these files are extracted from the .pfx file, set a path to each one of them in NetCrunch (ToolsOptionsServer):
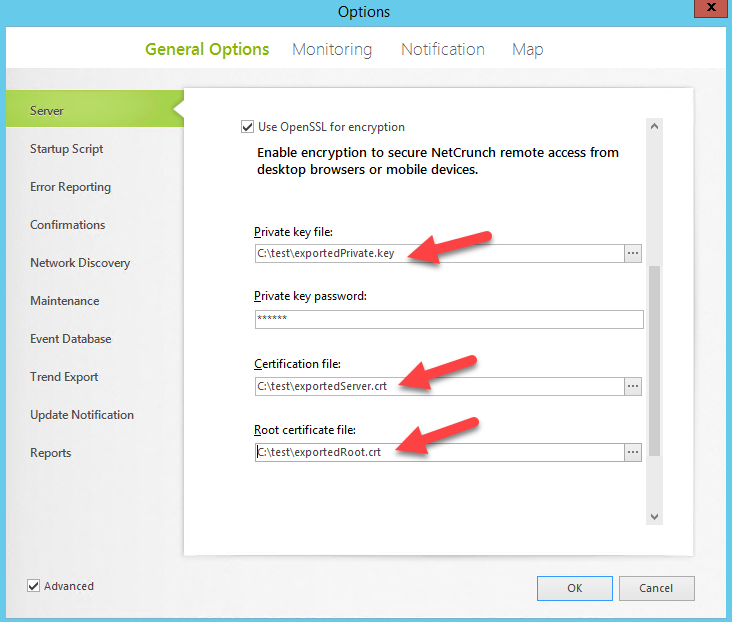
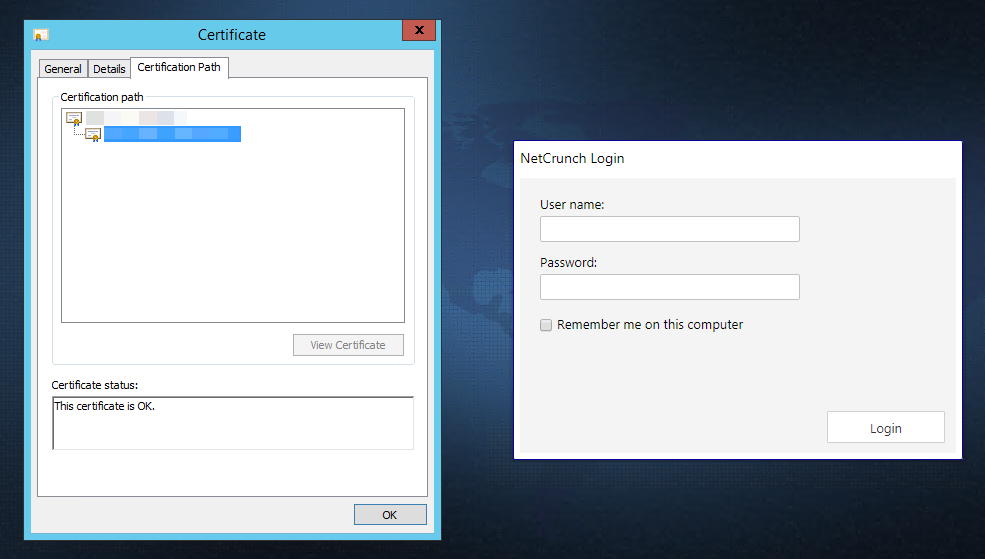
Voilà, secure Web Access connection is ready:
This feature requires NetCrunch version 10.1+